Yesterday we looked at the options available for educators to begin a personal/professional blog for free. Today, we hope you will take ten minutes to actually begin creating your personal space for sharing and curating.

We will guide you through the process of starting a blog at wordpress.com. The process is quite similar for other hosting sites, and all sites have extensive support available to walk you through the process of setting up your blog.
Begin at www.wordpress.com
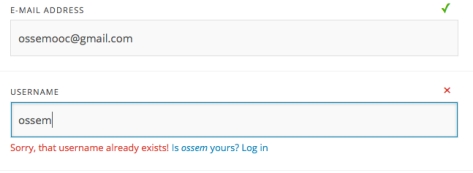
Begin entering the information. Your username will appear when you make comments on other WordPress blogs, so consider carefully what you want that to be, and be sure that it is reflective of you (i.e., your real name or your Twitter handle are good options).
Consider carefully the “blog address” as this is what you will use to drive readers to your site. Keep it simple and reflective of who you are.
Take a screenshot, or carefully record the set up information so that you will be able to log back into your site.
You are provided with a number of options. For now, we will stick with the free version. Choose “create blog”.
WordPress.com will now “walk you through” a number of steps to create your blog. Consider the purpose of your blog as you create a title and tagline (all of these can be edited later).
At some point in the process you will be asked to verify your account through the email address you originally provided.
In the email message, you will see an option to follow beginner tutorials.
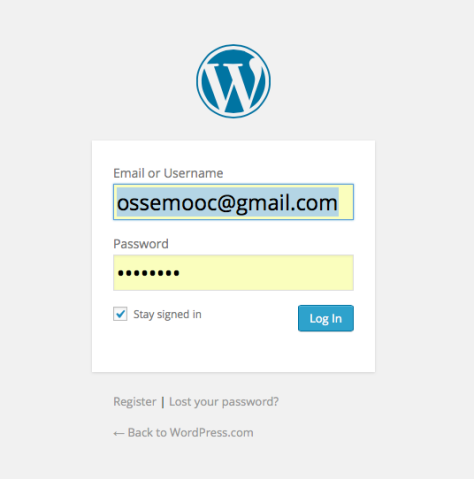
You may need to log into your site from the email message. Use the information you carefully recorded when you set up the blog.
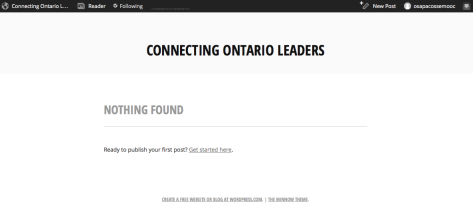
When you are creating a blog, there are two “sides” or “views” in the process. There is the public side, which is what others see when they visit your blog at the URL you have chosen. For example, it’s what you see right now at https://ossemooc.wordpress.com/.
When people navigate to my new blog, they see this front page, but with their own login information on the top black navigation bar.
The “other” side or view is the dashboard, where you create your posts and design your site.
To access your dashboard from your public view, click on the name of your blog in the top left, and choose dashboard.
WordPress.com has provided an excellent instructional video to help you understand and navigate the dashboard side of your blog.
Take some time to watch the video and play with some of the features on your new site.
Access the video here: https://v0.wordpress.com/player.swf?v=1.03
Below are some further resources to help you navigate and learn the dashboard side of your blog.
WordPress.com Get Started Tutorials


3 thoughts on “Ten Minutes of Connecting: Day 24 – Beginner’s Guide to Starting a Blog”